Overview
Air leaks waste energy, increase utility bills, and reduce home comfort. Finding and sealing leaks is one of the most cost-effective home improvements you can make. Simple testing methods help you identify leaks, and basic sealing materials can significantly reduce energy waste and improve comfort.
Why This Matters
Air leaks can account for 25-40% of heating and cooling costs in older homes. Sealing leaks reduces energy waste, lowers utility bills, improves comfort by eliminating drafts, and helps your HVAC system work more efficiently. The materials are inexpensive, and the work is straightforward DIY.
Simple Testing Methods
Hand Test
On a cold or windy day:
- Turn off HVAC - Stop air movement from system
- Feel around windows - Move hand slowly along edges
- Feel around doors - Check all edges
- Check outlets - Feel for air movement
- Feel for cool air - In winter, or warm air in summer
What you're feeling for:
- Cool drafts - Air entering in winter
- Warm air - Air entering in summer
- Movement - Airflow you can feel
This simple test identifies many obvious leaks.
Incense or Smoke Test
More sensitive method:
- Light incense stick - Or use smoke pencil
- Hold near suspected leaks - Windows, doors, outlets
- Watch smoke movement - Smoke will move toward leaks
- Test systematically - Go room by room
- Mark leaks found - Note locations for sealing
Best conditions:
- Turn off HVAC - And fans
- Close windows/doors - Create still air
- Test on windy day - Pressure difference makes leaks obvious
This method reveals leaks you might miss with hand test.
Visual Inspection
Look for:
- Gaps around windows - Between frame and wall
- Gaps around doors - Light visible around edges
- Cracks in caulk - Old caulk that's failed
- Missing weatherstripping - Doors and windows
- Gaps in baseboards - Between floor and wall
- Holes for wires/pipes - Unsealed penetrations
Common locations:
- Window frames - Where they meet wall
- Door frames - All around perimeter
- Electrical boxes - Outlets and switches
- Plumbing - Where pipes enter walls
- Recessed lights - In ceilings
- Attic access - Hatch or door
Common Leak Locations
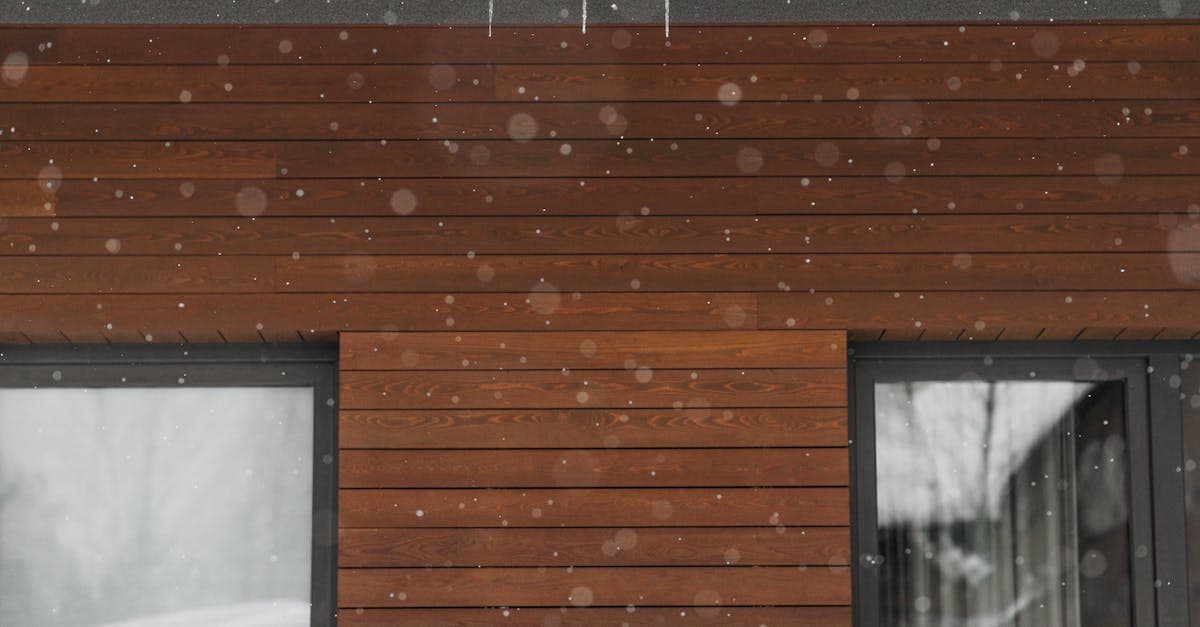
Windows and Doors
Check:
- Frame edges - Where frame meets wall
- Sash gaps - Between moving parts
- Weatherstripping - Worn or missing
- Threshold gaps - Bottom of doors
- Lock areas - Where locks don't seal
These are the most common and easiest to fix.
Electrical Outlets and Switches
Why they leak:
- Gaps around boxes - Between box and drywall
- Behind cover plates - Air flows through wall cavity
- Multiple outlets - Each one can leak
Solution:
- Foam gaskets - Behind cover plates
- Childproof covers - Also seal better
- Spray foam - Around boxes (if accessible)
Plumbing Penetrations
Where to check:
- Under sinks - Where pipes enter wall
- Behind toilets - Plumbing connections
- Around tubs/showers - Where plumbing enters
- Water heater - Vent and pipe penetrations
Solution:
- Caulk gaps - Small gaps
- Spray foam - Larger gaps
- Pipe insulation - Also helps
Attic and Basement
Attic leaks:
- Attic hatch - Often poorly sealed
- Recessed lights - Air leaks into attic
- Top plates - Where walls meet attic
- Ductwork - Leaks in ducts
Basement leaks:
- Sill plate - Where foundation meets framing
- Window wells - Basement windows
- Crawl space access - If present
- Foundation cracks - Can allow air
How to Seal Leaks
Small Gaps (Less than 1/4 inch)
Use caulk:
- Clean area - Remove old caulk, dirt
- Apply caulk - Smooth bead
- Tool smooth - For clean finish
- Let cure - Per product instructions
Best for: Windows, doors, trim, small gaps.
Medium Gaps (1/4 to 1 inch)
Use spray foam:
- Clean area - Remove debris
- Shake can - Per instructions
- Apply foam - Fill gap (expands)
- Trim excess - After curing
- Paint if needed - Foam is not UV stable
Best for: Around pipes, larger gaps, electrical boxes.
Large Gaps (Over 1 inch)
Consider:
- Spray foam - For filling
- Backer rod - For very large gaps, then caulk
- Professional - If structural concern
Best for: Major penetrations, construction gaps.
Energy Impact
Typical Savings
After sealing leaks:
- 10-20% reduction in heating costs
- 10-15% reduction in cooling costs
- Improved comfort - No drafts
- Better humidity control - Less moisture entry/exit
Payback period: Often less than one heating season.
Before and After
Before sealing:
- Drafts - Noticeable air movement
- High bills - Heating/cooling working harder
- Uneven temperatures - Some rooms colder/hotter
- Dust - More dust from air infiltration
After sealing:
- No drafts - Comfortable throughout
- Lower bills - Less energy waste
- Even temperatures - Better distribution
- Less dust - Reduced air infiltration
Professional Testing
Blower Door Test
What it is:
- Professional test - Measures air leakage
- Pressurizes home - Fan in doorway
- Measures leakage - Quantifies problem
- Identifies leaks - With thermal imaging
When to consider:
- Comprehensive audit - Whole-home energy assessment
- Before major work - Renovations, insulation
- Quantify problem - Know exactly how leaky
Cost: $300-$500, often part of energy audit.
Prevention
During Construction
If building or renovating:
- Air barrier - Proper installation
- Seal penetrations - As they're made
- Quality windows/doors - Proper installation
- Continuous insulation - Reduces thermal bridging
These steps prevent leaks from the start.
Regular Maintenance
Ongoing care:
- Inspect caulk annually - Replace as needed
- Check weatherstripping - Replace when worn
- Monitor for new leaks - As home settles
- Seal promptly - Don't let small leaks grow
Cost Considerations
DIY Sealing
Materials:
- Caulk: $5-$15 per tube
- Weatherstripping: $10-$30 per door/window
- Spray foam: $5-$10 per can
- Total: $50-$200 for typical home
Time: 4-8 hours for thorough sealing.
Professional Sealing
Professional service:
- Air sealing service: $500-$1,500
- With insulation: $1,000-$3,000
- Comprehensive: $2,000-$5,000
Often includes insulation and other improvements.
Conclusion
Testing for and sealing air leaks is one of the most cost-effective home improvements. Simple methods like the hand test, incense test, and visual inspection identify most leaks. Sealing with caulk, weatherstripping, and spray foam is straightforward DIY work that pays for itself quickly through energy savings. Regular maintenance keeps your home sealed and efficient. Don't ignore drafts—they're costing you money and comfort.
Frequently Asked Questions
How do I find air leaks in my home?
Common methods include using an incense stick to see air movement, feeling for drafts, checking with your hand on a cold day, or using a thermal imaging camera. Focus on windows, doors, electrical outlets, and areas where different materials meet.
Where are the most common air leaks?
Most leaks occur around windows and doors, electrical outlets and switches, plumbing penetrations, recessed lighting, attic hatches, and where different building materials meet (siding, foundation, etc.).
How much can sealing air leaks save on energy bills?
Sealing air leaks can reduce heating and cooling costs by 10-20%, depending on how leaky your home is. The savings typically pay for materials within one heating/cooling season.