Improving home insulation is one of the most cost-effective ways to reduce energy bills, but you don't need to tear down walls or do major remodeling. Many insulation improvements can be done in accessible areas with significant impact.
Why This Matters
Better insulation:
- Reduces energy costs by 10-30% typically
- Improves comfort by maintaining consistent temperatures
- Prevents drafts and cold spots
- Reduces HVAC wear by lowering heating/cooling load
- Increases home value with efficiency improvements
Most homes are under-insulated, and adding insulation to accessible areas can provide significant savings without major construction. The attic alone often accounts for 25-30% of heat loss.
Where to Add Insulation (Priority Order)
1. Attic (Highest Priority)
Why it matters:
- Heat rises, so significant heat loss occurs through roof
- Usually easiest area to access
- Provides biggest impact
- Can be done without remodeling
How to improve:
- Add insulation to recommended levels (R-30 to R-60)
- Seal air leaks in attic floor
- Ensure proper ventilation
- Insulate attic access door
- Seal around penetrations
Cost and savings:
- Cost: $500-$2,000 (DIY) or $1,000-$3,000 (professional)
- Savings: $200-$600+ annually
- Payback: 2-5 years
- Biggest impact for the investment
2. Floors Over Unheated Spaces
Where to insulate:
- Floors over crawl spaces
- Floors over unheated garages
- Floors over basements (if basement is unheated)
How to improve:
- Add insulation between floor joists
- Seal air leaks
- Ensure proper vapor barrier
- Maintain access for maintenance
Cost and savings:
- Cost: $300-$1,500
- Savings: $100-$300+ annually
- Payback: 2-4 years
- Moderate impact
3. Basement Walls
Where to insulate:
- Interior basement walls
- Rim joists (band joists)
- Foundation walls (if accessible)
How to improve:
- Add insulation to interior walls
- Insulate rim joists (high priority)
- Seal air leaks
- Ensure proper moisture control
Cost and savings:
- Cost: $500-$2,000
- Savings: $100-$400+ annually
- Payback: 2-5 years
- Good impact, especially in cold climates
4. Crawl Spaces
Where to insulate:
- Crawl space walls
- Crawl space floor (if unheated)
- Rim joists
How to improve:
- Insulate walls or floor
- Seal air leaks
- Ensure proper ventilation
- Control moisture
Cost and savings:
- Cost: $300-$1,500
- Savings: $50-$200+ annually
- Payback: 2-4 years
- Moderate impact
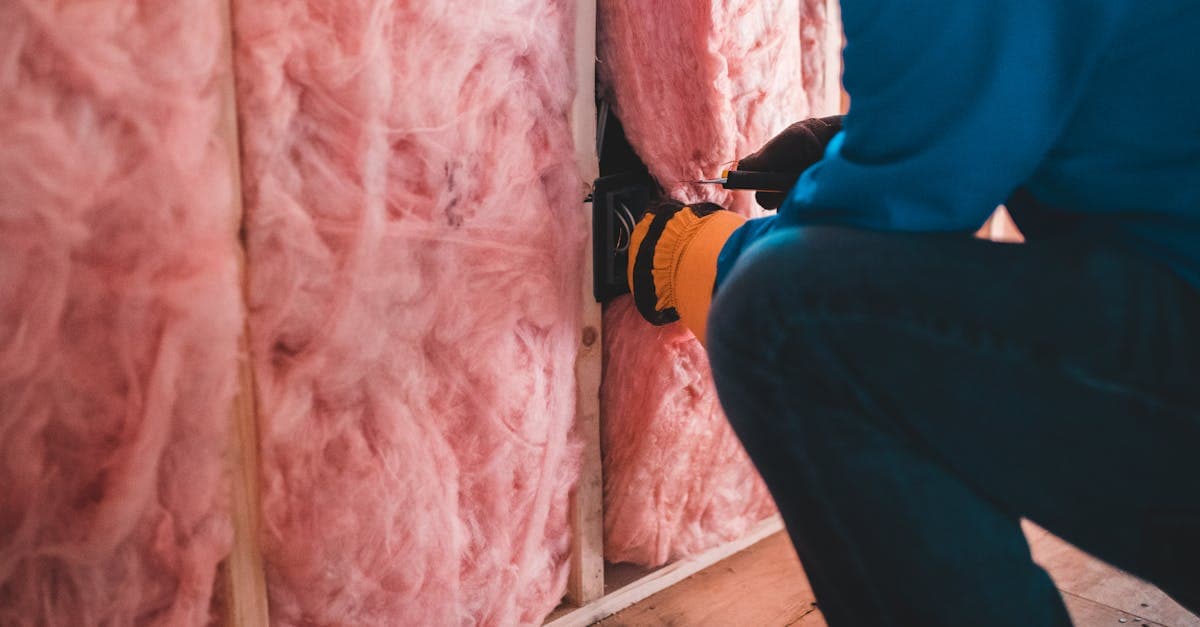
Methods That Don't Require Opening Walls
Blown-In Insulation for Walls
Process:
- Small holes drilled in exterior or interior
- Insulation blown into wall cavities
- Holes patched and painted
- No major demolition
Benefits:
- Improves wall insulation
- Minimal disruption
- Effective for existing homes
- Professional installation recommended
Cost and savings:
- Cost: $1,000-$3,000+
- Savings: $100-$400+ annually
- Payback: 3-8 years
- Good for older homes
Air Sealing
Critical first step:
- Seal air leaks before adding insulation
- Prevents insulation from being bypassed
- Improves effectiveness
- Relatively inexpensive
Where to seal:
- Attic floor (around penetrations)
- Rim joists
- Around windows and doors
- Electrical outlets
- Plumbing penetrations
Cost and savings:
- Cost: $100-$500
- Savings: $100-$300+ annually
- Payback: 3-12 months
- Essential for effectiveness
DIY-Friendly Projects
Attic Insulation
DIY approach:
- Add batts or rolls over existing insulation
- Work perpendicular to joists
- Don't compress insulation
- Maintain proper ventilation
- Wear protective equipment
Safety:
- Wear mask and gloves
- Ensure proper ventilation
- Watch for electrical
- Work in cool weather
- Take breaks
Sealing Air Leaks
DIY tasks:
- Caulk around windows and doors
- Seal electrical outlets
- Seal plumbing penetrations
- Insulate rim joists
- Seal attic access
Tools needed:
- Caulk gun
- Foam sealant
- Weatherstripping
- Basic tools
Rim Joist Insulation
Why it matters:
- High heat loss area
- Often overlooked
- Relatively easy to access
- Significant impact
How to insulate:
- Clean rim joist area
- Seal air leaks first
- Add insulation (foam board or spray foam)
- Ensure proper installation
When to Call a Professional
Hire professionals for:
- Blown-in wall insulation
- Spray foam applications
- Complex installations
- Hard-to-reach areas
- When you're unsure
Professional services:
- Energy audit
- Insulation installation
- Air sealing
- Comprehensive improvements
- Code compliance
Cost Considerations
DIY costs:
- Attic insulation: $500-$2,000
- Air sealing: $100-$500
- Rim joist insulation: $200-$800
- Total: $800-$3,300
Professional costs:
- Attic insulation: $1,000-$3,000
- Wall insulation: $1,000-$3,000+
- Comprehensive: $2,000-$8,000+
- Energy audit: $200-$500
Savings:
- 10-30% on energy bills
- $200-$1,000+ annually
- Payback: 2-5 years typically
- Long-term savings
Maintenance Schedule
Before adding insulation:
- Complete energy audit
- Seal air leaks first
- Address moisture issues
- Ensure proper ventilation
After installation:
- Monitor energy usage
- Check for problems
- Maintain ventilation
- Inspect periodically
Conclusion
Improving home insulation doesn't require major remodeling. Start with the attic (biggest impact), seal air leaks, and add insulation to accessible areas. Many projects are DIY-friendly, and even professional installation provides excellent return on investment. Focus on high-impact areas first for the best results.
For more insulation guidance, explore our articles on insulating your attic on a budget and learn about reducing home energy bills to maximize your efficiency improvements.
Frequently Asked Questions
Can I improve insulation without tearing down walls?
Yes, many insulation improvements don't require opening walls: add insulation to attic (most important), seal air leaks, insulate basement walls and crawl spaces, add insulation to floors over unheated spaces, and use blown-in insulation for existing walls (injected through small holes). Attic insulation provides the biggest impact.
What's the best place to add insulation?
The attic is typically the best place to add insulation, as heat rises and significant heat loss occurs through the roof. Other priority areas include: floors over unheated spaces, basement walls, crawl spaces, and around rim joists. An energy audit can help identify priorities.
How much insulation do I need?
Recommended levels vary by climate zone: R-30 to R-60 for attics, R-13 to R-21 for walls, R-25 to R-30 for floors. Check local building codes and energy efficiency recommendations for your specific climate. Most homes are under-insulated.
Can I add insulation myself?
Many insulation projects are DIY-friendly: adding batts to attics, sealing air leaks, insulating accessible areas. However, blown-in insulation, spray foam, and work in tight spaces may require professionals. Start with easy projects like attic insulation, then consider professional help for complex areas.